Authentication
For authentication, you will actually be implementing the User Login flow to receive the accessToken that will be used later on in this guide to create an essence NFT.
Workflow
Apollo Client
First, you need to set up the ApolloClient that, whenever you make a request, it will pass the accessToken in the HTTP Authorization header:
/src/apollo/index.tsx
import { ApolloClient, InMemoryCache, createHttpLink } from "@apollo/client";
import { setContext } from "@apollo/client/link/context";

const httpLink = createHttpLink({
    uri: "https://api.stg.cyberconnect.dev/",
});

const authLink = setContext((_, { headers }) => {
    const token = localStorage.getItem("accessToken");

    return {
        headers: {
            ...headers,
            Authorization: token ? `bearer ${token}` : "",
        },
    };
});

export const apolloClient = new ApolloClient({
    link: authLink.concat(httpLink),
    cache: new InMemoryCache(),
});
GraphQL mutations
After setting up the ApolloClient, you need to write the GraphQL mutations needed for the login flow:
- first mutation is to request a message that the user will sign with its MetaMask wallet:
/src/graphql/LoginGetMessage.ts
import { gql } from "@apollo/client";

export const LOGIN_GET_MESSAGE = gql`
    mutation LoginGetMessage($input: LoginGetMessageInput!) {
        loginGetMessage(input: $input) {
            message
        }
    }
`;
- the second mutation is to verify the signed message:
/src/graphql/LoginVerify.ts
import { gql } from "@apollo/client";

export const LOGIN_VERIFY = gql`
    mutation LoginVerify($input: LoginVerifyInput!) {
        loginVerify(input: $input) {
            accessToken
        }
    }
`;
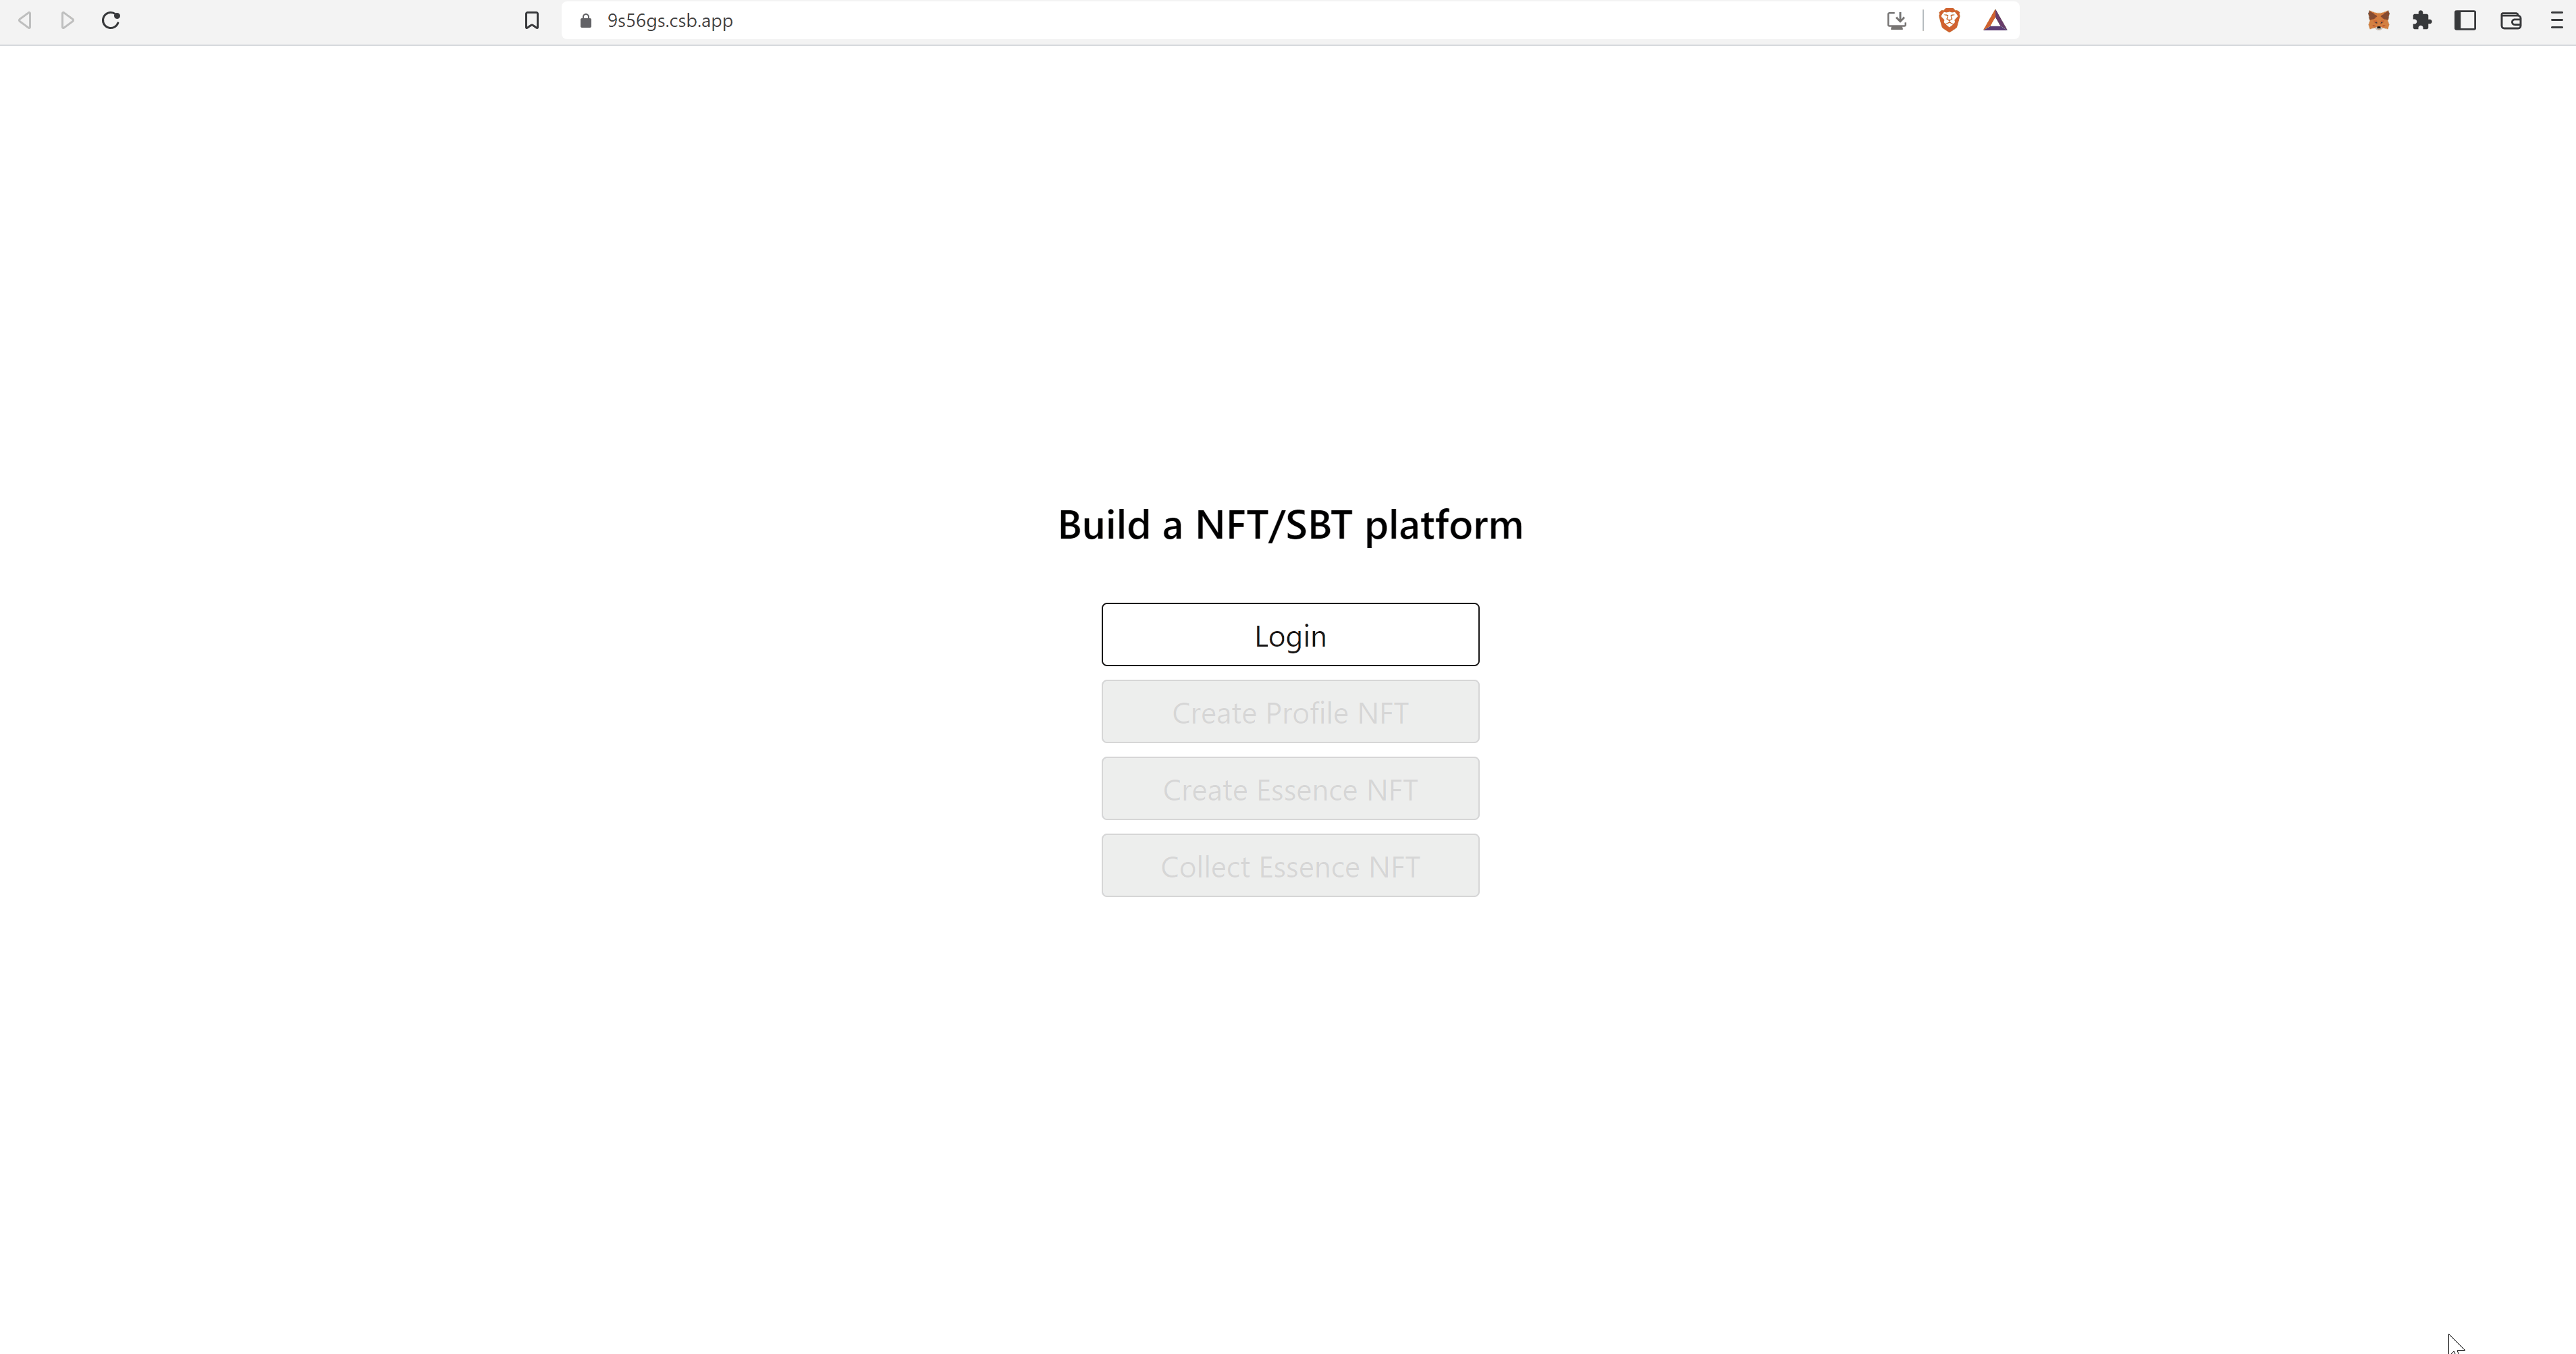
Login
Now that you have the necessary GraphQL mutations, you only need to create a LoginBtn component that incorporates the logic for the user authentication.
/src/components/LoginBtn.tsx
import { Web3Provider } from "@ethersproject/providers";
import { useMutation } from "@apollo/client";
import { LOGIN_GET_MESSAGE, LOGIN_VERIFY } from "../graphql";

const DEMO_CHAIN_ID = 5; // Goerli Test Network
const DEMO_DOMAIN = "example.com";

function LoginBtn({
    provider,
    disabled,
    setAccessToken,
}: {
    provider: Web3Provider | null,
    disabled: boolean,
    setAccessToken: (accessToken: string) => void,
}) {
    const [loginGetMessage] = useMutation(LOGIN_GET_MESSAGE);
    const [loginVerify] = useMutation(LOGIN_VERIFY);

    const handleOnClick = async () => {
        try {
            // Check for the provider
            if (!provider) {
                throw Error("No provier detected.");
            }

            // Check for the chain id
            const network = await provider.getNetwork();
            const chainID = network.chainId;

            if (chainID !== DEMO_CHAIN_ID) {
                throw Error("Wrong chain.");
            }

            // Connect with MetaMask wallet
            const signer = provider.getSigner();
            await provider.send("eth_requestAccounts", []);
            const address = await signer.getAddress();

            // Request message from server
            const messageResult = await loginGetMessage({
                variables: {
                    input: {
                        address: address,
                        domain: DEMO_DOMAIN,
                        chainID: DEMO_CHAIN_ID,
                    },
                },
            });
            const message = messageResult?.data?.loginGetMessage?.message;

            // Get the user's signature for the message
            const signature = await signer.signMessage(message);

            // Authenticate
            const accessTokenResult = await loginVerify({
                variables: {
                    input: {
                        address: address,
                        domain: DEMO_DOMAIN,
                        chainID: chainID,
                        signature: signature,
                    },
                },
            });
            const accessToken =
                accessTokenResult?.data?.loginVerify?.accessToken;

            console.log("~~ Access Token ~~");
            console.log(accessToken);

            // Save token in local storage
            localStorage.setItem("accessToken", accessToken);

            // Update the state for accessToken
            setAccessToken(accessToken);

            alert(`Successfully logged in!`);
        } catch (error) {
            alert(error);
            console.error(error);
        }
    };

    return (
        <button onClick={handleOnClick} disabled={disabled}>
            Login
        </button>
    );
}

export default LoginBtn;
This wraps up the Authentication process! In the next section you will learn how to Create a Profile NFT by interacting directly with the smart contract.