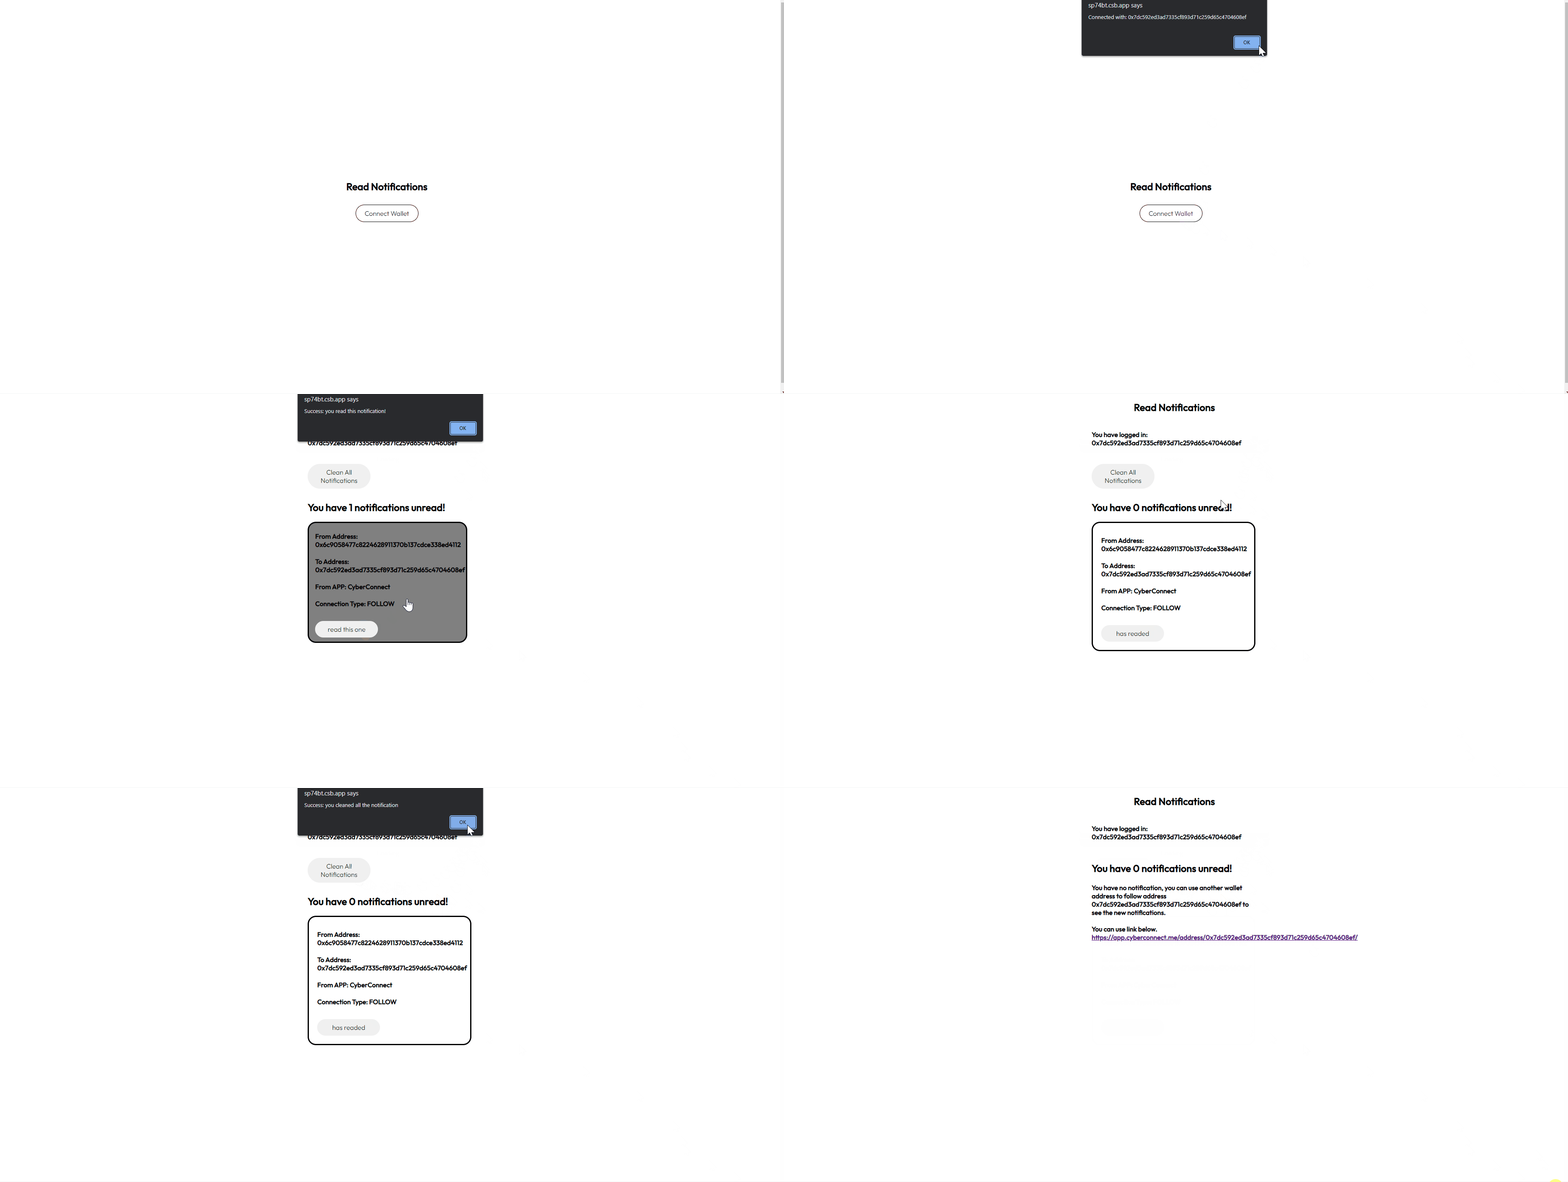
Read Notifications
tip
Install the GraphQL packages before starting this section.
In this section, we'll help you write a simple query to read a user's notifications from the social graph. Also, we will show you how to acknowledge a notification and acknowledge all notifications. Here is an example on how to use these features.

Read Notifications
Connect with User Wallet: Before checking notifications, you need to make sure that their crypto wallets are connected to your application. Check out the tutorial from Connect with User Wallet.
Initialize the GraphQL client:
const client = new GraphQLClient(CYBERCONNECT_ENDPOINT);
- Write a query to get the
unreadNotificationCountand the list of the user’snotifications:
import { gql } from "graphql-request";

export const GET_NOTIFICATIONS = gql`
  query ($address: String!) {
    identity(address: $address, network: ETH) {
      unreadNotificationCount
      notifications {
        pageInfo {
          hasNextPage
          hasPreviousPage
          endCursor
          startCursor
        }
        list {
          id
          toAddress
          network
          namespace
          hasRead
          type
          timestamp
          ... on NewConnectionNotification {
            fromAddress
            connectionType
          }
          ... on BiConnectReceivedNotification {
            fromAddress
          }
          ... on BiConnectAcceptedNotification {
            fromAddress
          }
        }
      }
    }
  }
`;
Make sure to check out the full list of fields available in the CyberConnect API.
Acknowledge a Notification
- To start, import
CyberConnect,Env, andBlockchaininto your application from the CyberConnect SDK:
import CyberConnect, { Env, Blockchain } from "@cyberlab/cyberconnect";
- Before creating a connection, you'll need to instantiate a
CyberConnectobject and initialize variablesnamespace,env,chainandprovider:
const cyberConnect = new CyberConnect({
  namespace: "CyberConnect",
  env: Env.PRODUCTION,
  chain: Blockchain.ETH,
  provider: window.ethereum,
});
- In this tutorial, we'll help you implement a simple button that user can click on and acknowledge a notification. However, you can also acknowledge a portion of notifications because
ackNotifications([notificationId])can take array ofnotificationId. After clicking, the functionackNotificationsHandlerwill send a request to MetaMask and, if successful, it will set the notificationhasReadtotrueand alert the user the success message.
const ackNotificationsHandler = async (notificationIds) => {
  if (!account) return;
  if (!notificationIds) return;

  try {
    await cyberConnect.ackNotifications(notificationIds);
    alert(`Success: you read this notification!`);
    await fetchNotificaions(account);
  } catch (err) {
    alert(`Failed: you have already read this notification!`);
    console.error(err.message);
  }
};
Acknowledge All Notifications
We can also implement a simple button that user can click on and acknowledge all notifications. After clicking, the function ackAllNotificationsHandler will send a request to MetaMask and, if successful, it will clean all the notifications and set unreadNotificationCount to 0 and alert the user the success message.
const ackAllNotificationsHandler = async () => {
  if (!account) return;
  try {
    await cyberConnect.ackAllNotifications();
    alert(`Success: you cleaned all the notification`);
    await fetchNotificaions(account);
  } catch (err) {
    alert(`Failed: please connect your wallet!`);
    console.error(err.message);
  }
};
For the full code, please check out the Sandbox example in the below.
Sandbox
You can write your own query in the Playground or experiment with our code in the sandbox below!